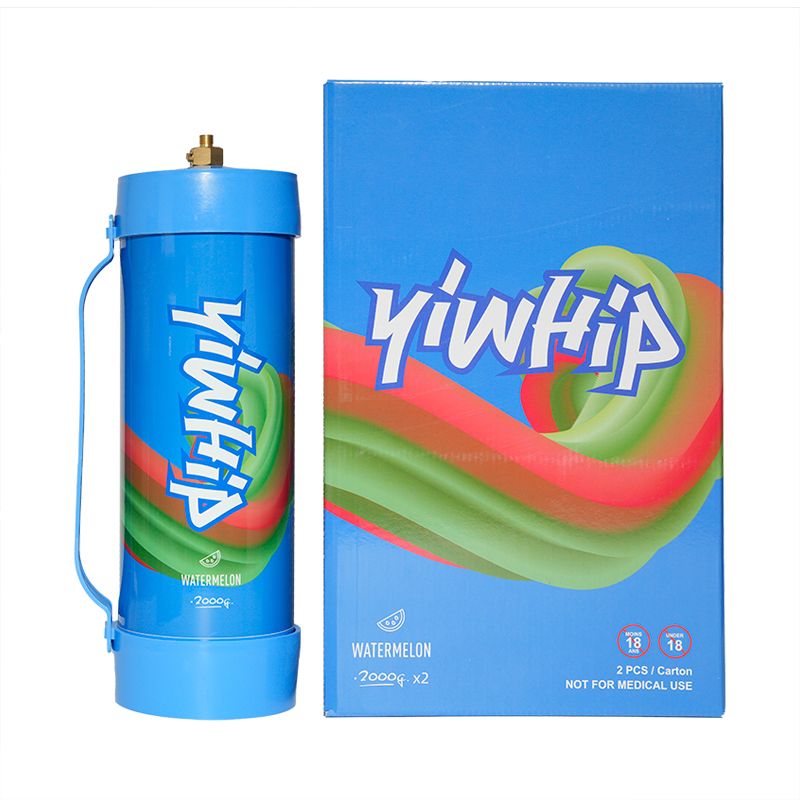
Why Use a Whipped Cream Canister?
Whipped cream is a delightful topping that makes desserts stand out. But have you ever thought about how a **whipped cream canister** could change your dessert experience? Instead of buying cans of whipped cream from the store, a canister lets you create fresh whipped cream at home!
Using a canister is fun and easy! You can make whipped cream just the way you like it—whether that’s sweet, light, or whipped to perfection. Plus, it’s a great way to impress your friends and family. They will be amazed when you whip up fresh cream for your cakes, pies, and other desserts.
Choosing the Right Whipped Cream Canister
Not all whipped cream canisters are created equal. Here are some tips to help you decide which one is best for you:
1. Material Matters
Most whipped cream canisters are made from stainless steel or plastic. **Stainless steel** canisters are more durable and can keep your whipped cream colder for longer. On the other hand, plastic canisters are lighter and easier to handle. Choose the material that fits your needs!
2. Size Counts
Whipped cream canisters come in different sizes. A smaller canister is great for personal or small family use. But if you're hosting a party or event, a larger canister can be a better choice. It can hold more cream and save you time!
3. Price and Brand
Prices can vary. Some canisters are super cheap, but you want a canister that works well. Look for popular brands with good reviews. Investing a little more can lead to better results!
How to Use Your Whipped Cream Canister
Using a whipped cream canister is simple! Here’s how to do it:
Step 1: Gather Your Ingredients
You’ll need heavy cream, sugar (to sweeten), and vanilla extract (for flavor). The ratio is usually 1 cup of cream, 2 tablespoons of sugar, and 1 teaspoon of vanilla.
Step 2: Fill the Canister
Pour your ingredients into the canister. Don’t fill it up all the way—leave some room for the gas to expand!
Step 3: Charge the Canister
Attach a **nitrous oxide (N2O) charger** to the canister. This will create pressure inside, turning your mixture into fluffy whipped cream!
Step 4: Shake and Serve
Give the canister a good shake, and then squeeze the lever to dispense the whipped cream. It’s that easy!
Storing Whipped Cream
Leftover whipped cream? No problem! Just store it in the fridge. It can last up to a week. You can also use it to top off coffee or hot chocolate for an extra treat!
Frequently Asked Questions (FAQ)
Q: Can I use any cream?
A: It’s best to use **heavy cream** for the best results. It whips up well and holds its shape longer.
Q: Can I add flavor to my whipped cream?
A: Absolutely! You can add various flavors like chocolate, mint, or even spices. Get creative!
Q: How do I clean my whipped cream canister?
A: Most canisters can be taken apart. Just rinse with warm water and use a soft brush to clean it. Avoid using harsh chemicals!
Q: Is it safe to use?
A: Yes, as long as you follow the instructions. Make sure not to overcharge your canister and use it properly.
Conclusion
A whipped cream canister can truly elevate your dessert game. It’s easy to use, fun, and makes any dessert taste amazing. So, say goodbye to store-bought whipped cream and start creating your own delicious toppings! With the right canister, you'll be the star of every gathering. Get ready to impress your friends and family with fresh whipped cream that tastes delicious. Enjoy!

